Although not restrictive off trail, my plant-based whole (unprocessed/minimally processed) food diet requires more effort while the backcountry. It is primarily for this reason I've been experimenting with my own dinners since March. The meals I've prepared for my hike are guaranteed to be super tasty, filling, nutritious and minimally processed.
 |
| my backcountry kitchen |
You're probably thinking, "What will you do, then?"
I will simply add water to my meals a couple hours before dinner, and as they slush around in the container and rehydrate, they will be lukewarm when I'm ready to chow down.
I experimented with this method during my Memorial Day trek through the Angeles National Forest. It worked amazingly well so I'm sticking to it. This decision also means less bulk because I will be carrying fewer items, less work at camp after a long days hike and no chance of burning a hole in the sleeve of my down jacket (again).
Ok, back to food. So what will I be eating exactly?
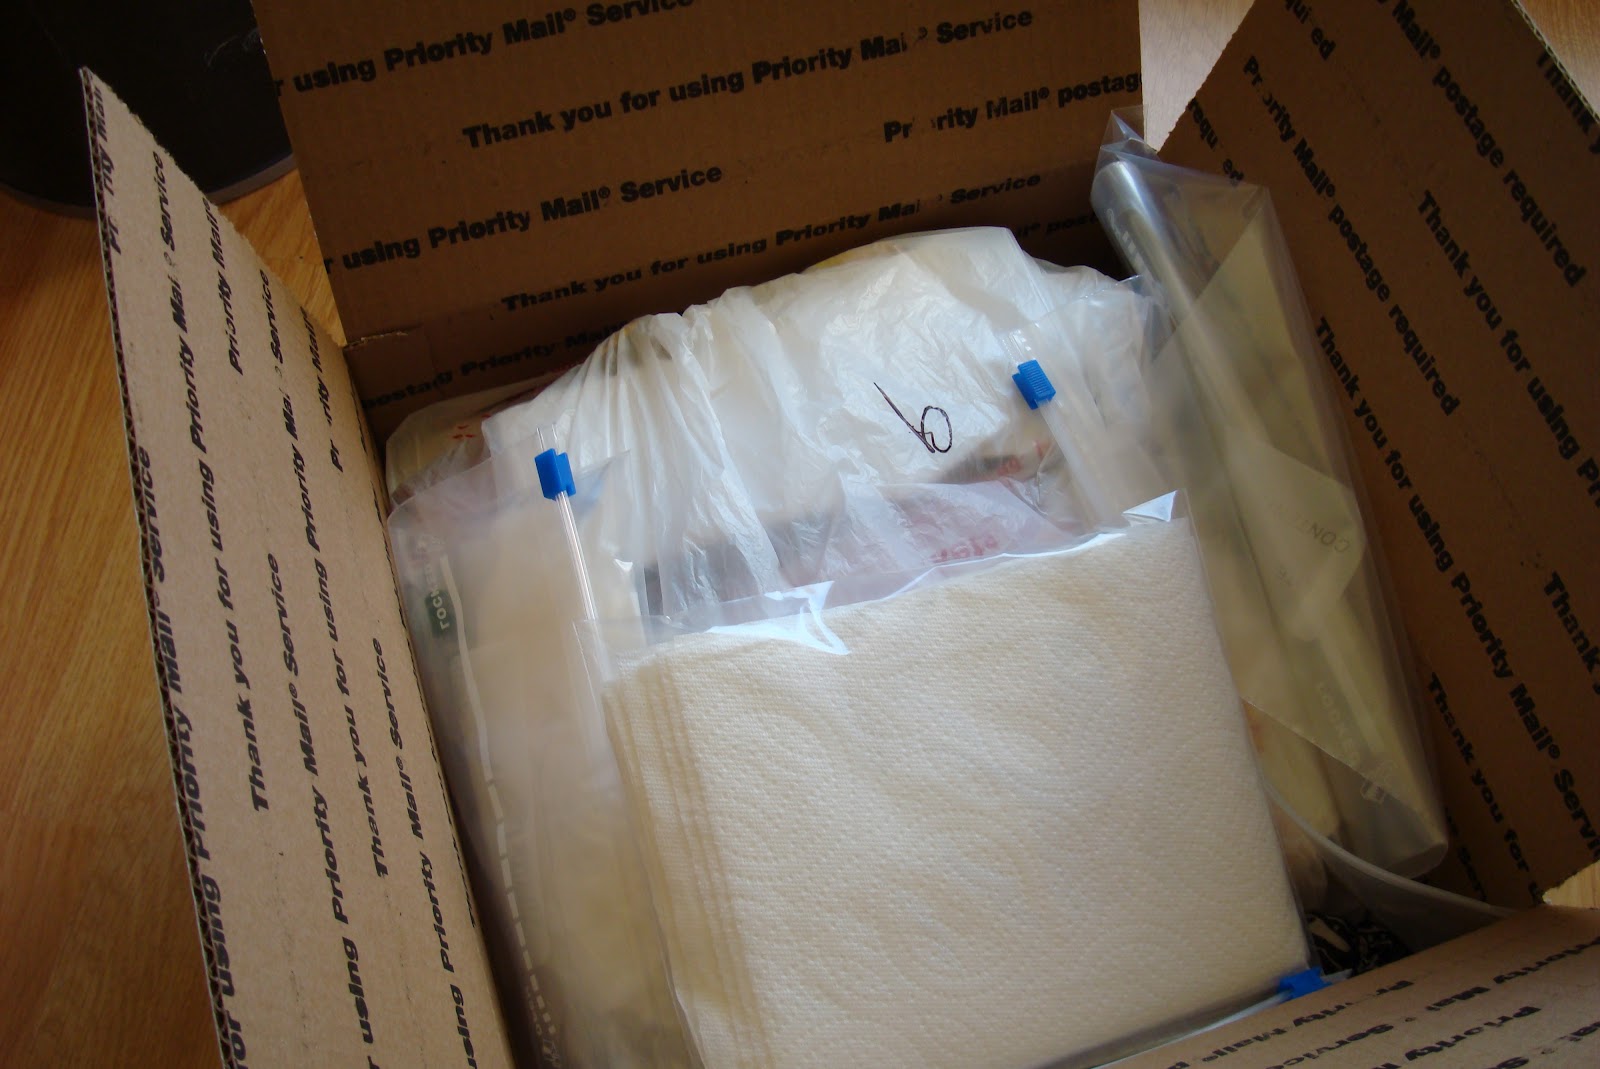
Well, I cooked, dehydrated, and vacuum sealed 17 dinners.
My dinners range from rice noodles with veggies and (dairy-free) basil pesto; to garlic mashed potatoes with eggplants, carrots, bell peppers, bok choy, onions, herbs and spices; to orzo with portobello mushrooms, squash, red peppers, mung bean sprouts, onions, garlic, herbs & spices.
Well, I cooked, dehydrated, and vacuum sealed 17 dinners.
 |
| 17 minimally processed, calorically dense, scrumptious, good-for-you dinners |
To share with you the process of getting to the final product you see in the photo above, I want to show you how I made my orzo with veggies dinner.
After making two generous servings of food in a large pan,

I transfered it onto two dehydrator trays.

After about 12 hours at 135 - 145 degrees, the orzo and veggies were fully dehydrated.

After cooling down for 30 to 45 minutes, the orzo & veggies then made their way into a small container for a stint in the Magic Bullet.

Lastly, I placed the orzo and veggies into a pre-cut Foodsaver bag and vacuum sealed it.

There you have it. One delicious, healthy, ready-to-eat 7 ounce dinner guaranteed to be devoured on the trail.
Interested in making your own food like I did? Here are a few tips:
1. If you are considering making your own dinners for your hike, DO IT! You will thank yourself on the trail for taking such good care of yourself. Having said that, I don't know if this is something I would consider doing for a lengthy hike like the PCT, but for a two week adventure, it's totally doable.
2. If you have a Nesco FD-75PR dehydrator like I do, two trays of food (pre-dehydrated) will produce one 7 ounce dehydrated dinner.
3. Minimize bulk and grind down thorny edges using a food processor. This dinner a) would not fit into my 750 ml container had I not ground it down, and b) would have probably put a hole in the vacuum sealer bag like four other dinners did prior. Save yourself the repetitive work and excessive waste and grind your meals down slightly, being mindful to leave some texture to the food instead of turning it into mush - unless that's what you prefer.
4. Be careful when using ready-to-eat rice. I purchased instant brown rice from Trader Joe's and ruined a few dinners. Mind you, it was my fault. I didn't dehydrate the rice prior to incorporating it with my dehydrated veggies. All three meals containing the instant rice puffed up like balloons a few days after I vacuum sealed them and were ruined. Lesson learned!
If you have any questions or comments, please feel free to email me or leave a comment below.
Happy Trails!